Webcam provided by windy.com — add a webcam

Richmond, BC
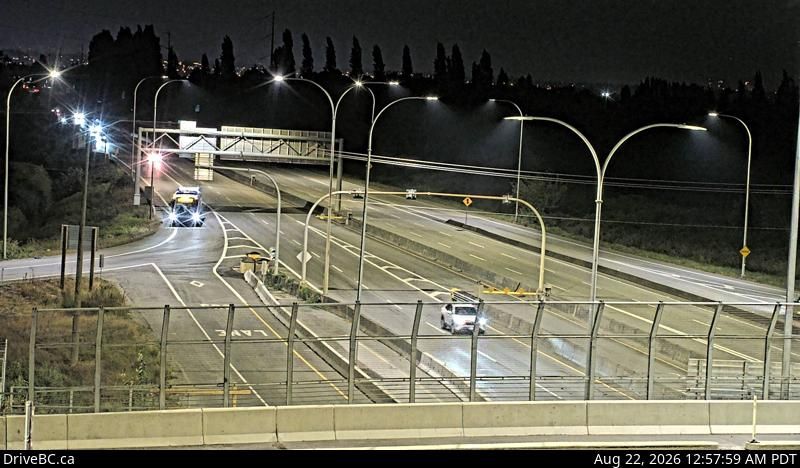
Brighouse › North: Hwy 99, looking north from Steveston interchange
Brighouse › North: Hwy 99, looking north from Steveston interchange

Richmond, BC
HWY 99 Looking south between Blundell overpass and Steveston offramp
HWY 99 Looking south between Blundell overpass and Steveston offramp

Delta, BC
Delta › North: Hwy 99 from north of Hwy 17A overpass, looking north
Delta › North: Hwy 99 from north of Hwy 17A overpass, looking north

Delta, BC
Delta › North: Hwy 99, north of Hwy 17A overpass, looking north
Delta › North: Hwy 99, north of Hwy 17A overpass, looking north

Delta, BC
Delta › West: Hwy 99, north of Hwy 17A overpass, looking west on Hwy 99 at northbound lanes
Delta › West: Hwy 99, north of Hwy 17A overpass, looking west on Hwy 99 at northbound lanes

Delta, BC
Delta › South: Hwy 99, north of Hwy 17A overpass, looking south on Hwy 99 at northbound lanes
Delta › South: Hwy 99, north of Hwy 17A overpass, looking south on Hwy 99 at northbound lanes

Delta, BC
Delta › North: Hwy 99 from Hwy 17A overpass, looking north
Delta › North: Hwy 99 from Hwy 17A overpass, looking north

BC
Brighouse › North: Hwy 99 at Westminster Hwy in Richmond, looking south
Brighouse › North: Hwy 99 at Westminster Hwy in Richmond, looking south

Richmond, BC
Hwy-99 at Westminster Hwy-in Richmond, looking south. (elevation: 5 metres)
Hwy-99 at Westminster Hwy-in Richmond, looking south. (elevation: 5 metres)

Richmond, BC
Hwy-99 at Westminster Hwy-in Richmond, looking north. (elevation: 5 metres)
Hwy-99 at Westminster Hwy-in Richmond, looking north. (elevation: 5 metres)

Delta, BC
Delta › North: Hwy 99 at - Works Yard, looking north
Delta › North: Hwy 99 at - Works Yard, looking north

Delta, BC
Delta › South: Hwy 17A, at Hwy 10 (Ladner Trunk Rd), looking south
Delta › South: Hwy 17A, at Hwy 10 (Ladner Trunk Rd), looking south

Richmond, BC
Hwy-91 (East-West Connector) at No.6 Road, looking west. (elevation: 1 metres)
Hwy-91 (East-West Connector) at No.6 Road, looking west. (elevation: 1 metres)

Richmond, BC
Hwy-91 (East-West Connector) at No.6 Road, looking east. (elevation: 1 metres)
Hwy-91 (East-West Connector) at No.6 Road, looking east. (elevation: 1 metres)

Richmond, BC
Brighouse › North: Hwy 99 at Shell Rd, approaching Oak St Bridge, looking north
Brighouse › North: Hwy 99 at Shell Rd, approaching Oak St Bridge, looking north